WordPress is known as the most popular blogging platform and CMS (Contents Management System). To use WordPress, databases such as MySQLor MariaDB needs to be used so that WordPress can store, load and manage data on it.
If you use WordPress with MySQL or MariaDB, have you ever been concerned about data security? Does your DBMS have the proper protection it needs to shield itself against attackers?
Usually, blogs don’t have any credential data inside the DBMS– but what about business websites? If the data is lost or falls into the wrong hands, the impact it can have to the business can be severe.
Most experts emphasize the importance of security by advising to “Cover up by shielding your data from hackers with the use of encryption, access control, auditing, etc.” However, this advice is not always easy to apply for beginners. In the case of MySQL, you need to modify the source code in order to encrypt the database, and this is not an easy task.
In the case of WordPress, it is well known for its ease of installation for beginners. Installing WordPress is a simple process that takes less than five minutes to complete. However to ensure the security of the DBMS, it could take more than five days for new users and even for some advanced users.
MyDiamo provides three (3) major security features, Encryption, Access Control and Auditing. MyDiamo not only saves your effort and time, but also provides comprehensive security for your DBMS. Following are the steps in order to install MyDiamo when using it with WordPress.
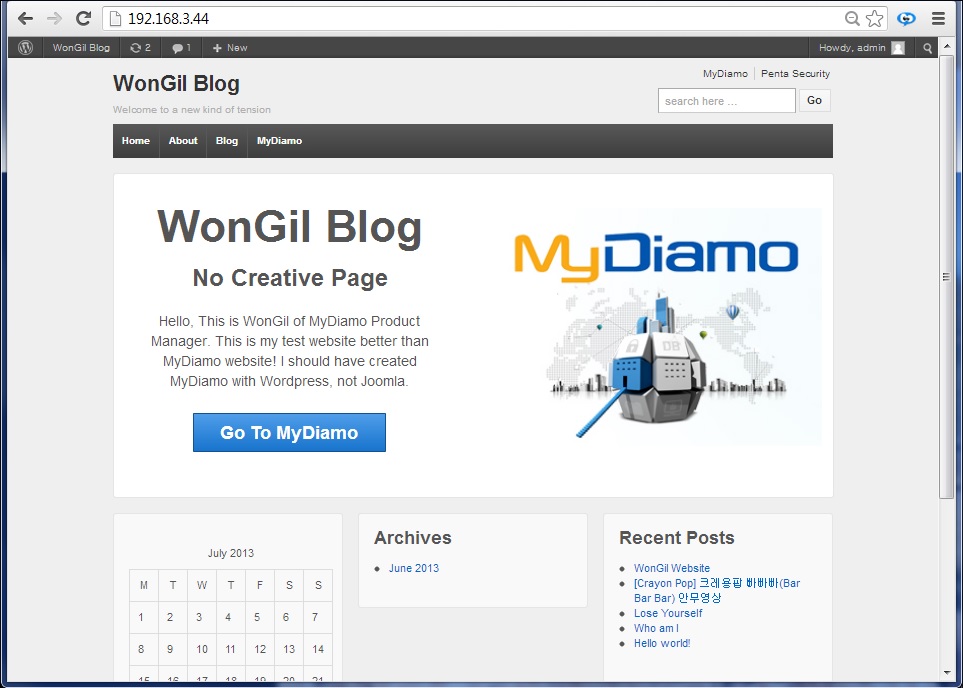
Here is MyDiamo with a WordPress Test Blog
First of all, in order to show the encrypted data clearly, data was created from the MySQL database. Information for “mydiamo_user” can be seen below.
Also, the table information for “mydiamo_user” can be seen in the sample blog shown below.
If you don’t want to disclose password information, you can always encrypt or exercise access control over the data. However, in most file encryption tools you can only encrypt the whole data. If you want to selectively encrypt data and partially, MyDiamo can do that for you.
Three Things You Need Before Installing MyDiamo
1) MyDiamo Installation package
→ Check the MySQL installation type and download the package.
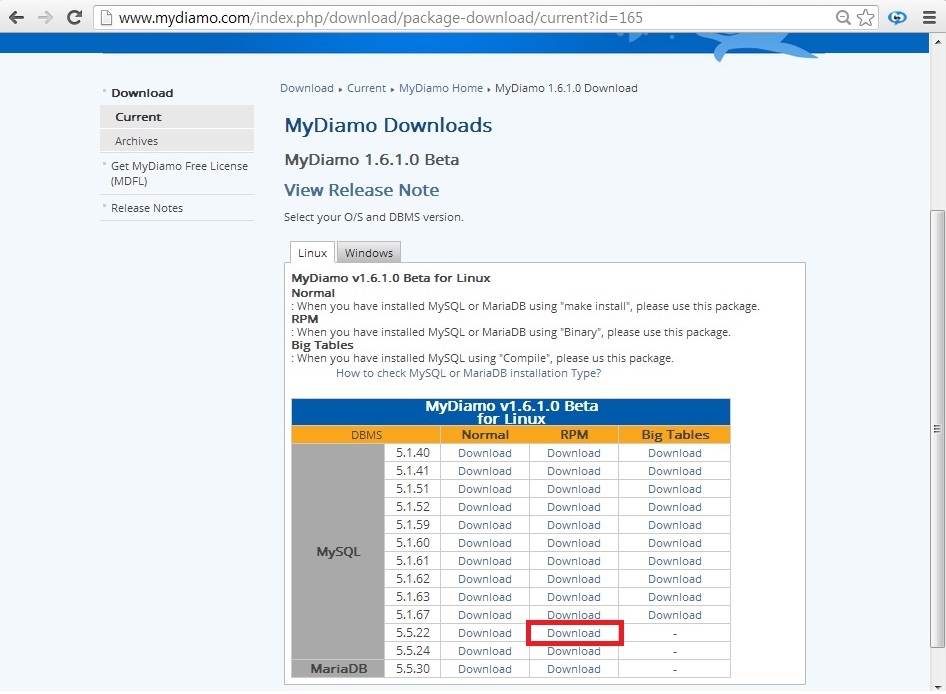
For example if your OS type is Linux and your MySQL version is 5.5.22, you can download MyDiamo as seen below. (You use RPM when you have installed MySQL or MariaDB using “Binary”. You use Big Tables when you have installed MySQL using “Compile”)
2) MDFL ID and Authentication Code / MyDiamo Key Pairs
→ You can get the MDFL ID, Auth_Code and MyDiamo Key Pairs from email by requesting for the MyDiamo License.
Tip: If you don’t know the number of your CPU core, it is better to put in a high number such as 8.
MDFL ID, Authentication Code and MyDiamo Key Pairs will arrive shortly after the request.
3) Set Environment Variables
→ You don’t need to set environment variables for version 1.6.1.0 or higher versions.
How to Install MyDiamo
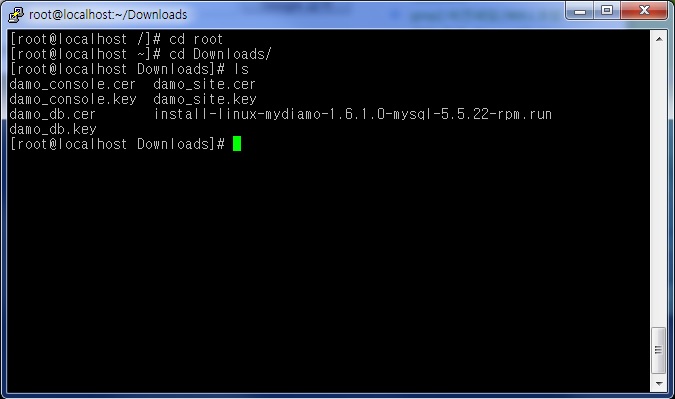
1) Put the Installation File and Key Pairs in the Same Folder
2) Execute the Install File Then Enter Your DBMS Root Password
(The system needs to access the DBMS in order to install the modules.)
3) Enter the Password of Site Key and DB Key
(Activating the MyDiamo key server)
→ The password is sent to you through email with the key pairs. (Password Information.txt)
Now the installation is complete.
There will be a folder named “mydiamo” that has been generated in the main root.
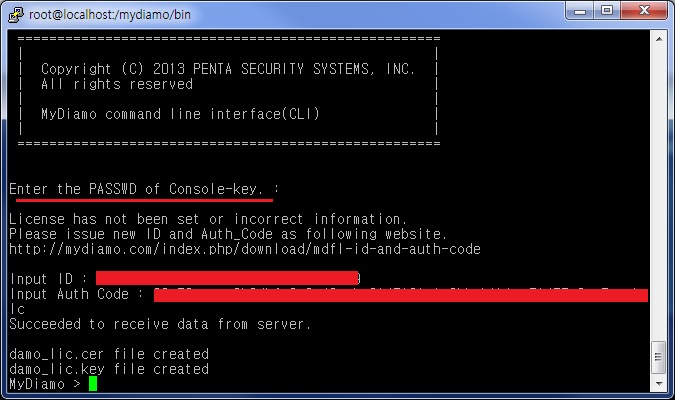
License Activation
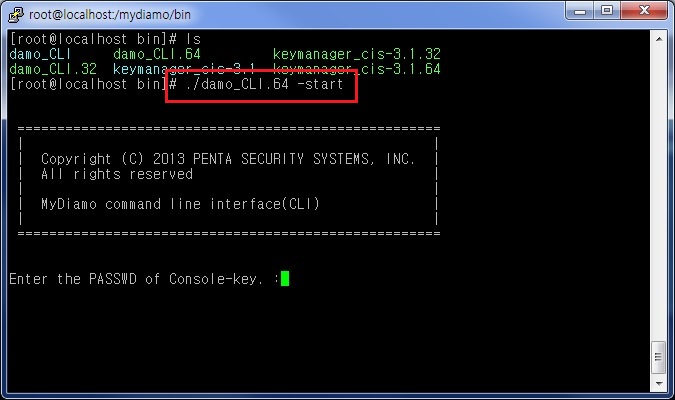
1) Run “damo_CLI.64” file.
(Found under the bin file in “mydiamo” folder)
# ./damo_CLI.64 –start
2) Enter the Password of the Console Key.
→ The Password is sent to you through email with the key pairs. (Password Information.txt)
3) Input ID and Authentication Code of License.
(This information was provided by email.)
Now it is possible to use the encryption program.
These are the basic steps of installation of MyDiamo. You can check MyDiamo’s guide page for more details. In the next post, we will explain how to operate using MyDiamo (the basic steps for encryption and decryption of columns).
