There are many functions in MyDiamo which is useful to users— one o f them being the masking function. It enables users to select how the encrypted data can be shown to whom without any decrypting privileges while still encrypting the data. Below is the step-by-step on how to use MyDiamo’s masking function.
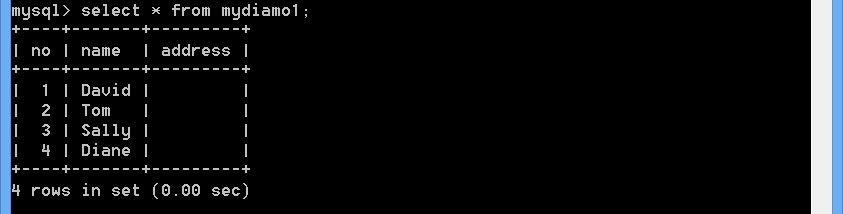
First, we need to create a table on MySQL. The table name is “mydiamo1” and is created on the “test” database. The user is “root”. We will insert four records on the table.

Now we need to start MyDiamo CLI and create a policy. After that we will configure the column-level encryption settings, and set encryption privilege for the column “address”. This step can be seen by referring to the operation guide.

After that we need to encrypt the column “address” on MySQL.
![]()
Now, on MyDiamo CLI, we have to set the environment on how we want the encrypted data to look like: masking, empty data, error, or raw data.
By applying “masking”, the encrypted column will be shown like the image below.


By applying “empty data”, the encrypted column will be shown like the image below.

By applying “error”, the encrypted column will be shown like the image below.


By applying “raw data”, the encrypted column will be shown like the image below.


This is how users can use the masking function for MyDiamo. There are also many other features of MyDiamo that can benefit users in protecting their data.